
How to Add Resistance to Hockey Shooting Practice
Table of Contents
- Why Adding Resistance to Hockey Shooting Practice Works
- What You'll Need Before You Start
- Stick Weight Training for Hockey: The Simplest Resistance Tool
- Resistance Band Hockey Shooting Drills You Can Do Anywhere
- Hockey Wrist and Grip Strength Drills That Transfer to the Ice
- Off-Ice Hockey Shooting Practice: Building a Progressive Plan
- Safety, Equipment Setup, and Avoiding Technique Breakdown
- How to Measure Whether Resistance Training Is Working
- Frequently Asked Questions
Last Updated: October 14, 2026
Why Adding Resistance to Hockey Shooting Practice Works
Adding resistance to hockey shooting practice makes your muscles work harder than in a game, building shot strength. Remove the weight and your release feels faster.
Hockey shooting practice is about repeating good habits.
The catch: resistance only helps if your technique holds up.
At Lamplighter Hockey, we built our whole training line around this one idea. The USA Hockey player development resources make the same point about off-ice training: strength work should support skill, not replace it.

Lamplighter Hockey Stick Weight (available in 3 sizes)
Resistance changes three things:
- Shot power: Heavier reps force your shooting muscles to produce more force.
- Release speed: Your hands learn to snap through the puck faster.
- Stick control: A loaded stick is harder to handle, so your grip and balance improve.
This guide shows how to add resistance, which drills to run, and how to know it is working.
What You'll Need Before You Start
You need three things before your first resisted rep: a stick, a puck, and a way to add weight.
Here is the basic kit:
- A hockey stick you already own and trust
- A stick weight that slides inside the shaft
- Pucks (at least 10 for shooting drills)
The stick weight is the key piece. It fits inside most junior, intermediate, and senior sticks, so you train with your own equipment.
Pick your weight by age and strength. A half-pound weight suits 8U and Mite players. The one-pound weight works for all ages. The two-pound weight is built for stronger players, ages ~13 and up.
Stick Weight Training for Hockey: The Simplest Resistance Tool
Stick weight training for hockey is the easiest way to add resistance because the weight lives inside your own stick. You shoot the same way, but every rep costs more.
Why an internal weight beats a heavy stick
A separate weighted stick changes the length, lie, and flex you feel. An internal weight keeps your own stick's lie, curve, and kick point intact, so you groove your real shot, not a new one. Take the weight out and the same motion feels lighter and faster.
How to load and shoot
- Remove the plug from the top of your stick.
- Slide the weight into the shaft.
- Take 20 to 30 wrist shots at game speed.
- Pull the weight out and take 10 more shots.
- Notice how light the stick feels.
That last step is the payoff: your hands and forearms did extra work, then fire a normal-weight stick. Most players feel a faster release right away.
Choosing a weight
Pick your weight by age and strength, not ego. When in doubt, start one size lighter than you think you need.
How to progress the load
Do not jump straight to your heaviest weight. A pattern that works:
- Weeks 1-2: No weight. Groove clean technique at game speed.
- Weeks 3-4: Half or one pound. Focus on wrist-shot power.
- Weeks 5-6: One pound. Focus on release speed.
Add load only when your form stays clean for a full set. If your hands drop, your head comes up, or your follow-through shortens, you went too heavy.
Where it fits against other resistance tools
An internal stick weight is the simplest option, but not the only one. Bands add pull instead of mass, weighted pucks add load at contact, and partner-applied pressure adds a live, unpredictable force.
We built the stick weight for daily use: compact, portable, and tough enough to live in your hockey bag. Grab the Lamplighter Hockey Stick Weight in three sizes and train with your own stick from day one.
Resistance Band Hockey Shooting Drills You Can Do Anywhere
Resistance band hockey shooting drills add pull instead of weight. Anchor a band behind you, loop it around your stick, and shoot against the tension. This trains the same muscles as a stick weight and teaches you to drive through resistance. Bands are cheap, portable, and instantly adjustable.
Try these three drills:
- Band wrist shot: Anchor the band low behind you. Take 15 wrist shots, pulling against the band the whole way.
- Band snap shot: Anchor the band at chest height. Snap 12 shots, focusing on a quick release.
- Band stickhandling: Keep the band taut and move the puck side to side for 30 seconds.
Do two or three rounds of each. Keep your hands away from your body and your head up.
Lamplighter Hockey Stick Weight (available in 3 sizes) →
Hockey Wrist and Grip Strength Drills That Transfer to the Ice
Hockey wrist and grip strength drills build the muscles that fire your shot.
Simple drills you can run off the ice:
- Stick squeezes: Grip your stick hard for 10 seconds, then relax. Repeat 10 times.
- Wrist curls: Hold a light weight and curl your wrist up and down, 15 reps each way.
- Puck flips: Flip a puck from blade to blade for 60 seconds.
These drills also build forearm and upper-body strength, supporting shot power. Add them to your warm-up or run them on rest days.
For younger players, the American Academy of Pediatrics guidance on youth sports is worth a read. It stresses age-appropriate strength work and proper rest. Build grip and wrist strength gradually.
Off-Ice Hockey Shooting Practice: Building a Progressive Plan
Off-ice hockey shooting practice works best with a plan. Random reps do not build a harder shot; structured reps do.
Here is a four-week progression you can run at home:
Week |
Weight |
Shots per Session |
Sessions per Week |
Focus |
|---|---|---|---|---|
1 |
No weight |
50 |
3 |
Clean technique |
2 |
Half or 1 lb |
40 |
3 |
Wrist shot power |
3 |
1 lb |
40 |
4 |
Release speed |
4 |
1 lb, then none |
30 loaded, 20 light |
4 |
Game-speed transfer |
The pattern is simple: start light, add load, then strip the load off and shoot fast. A few rules keep it safe and effective:
- Always warm up before you shoot.
- Stop a drill when your form breaks down.
- Take a rest day between heavy sessions.
Safety, Equipment Setup, and Avoiding Technique Breakdown
Safety and equipment setup decide whether resistance training helps or hurts you. A weighted stick swings harder and a band stores energy. If your form slips or your anchor fails, you can strain a wrist, pull a groin, or take a band to the face. None of that is worth a few extra reps.
Set up a safe shooting lane
Before your first resisted rep, clear the space:
- Give yourself at least 10 feet of open lane between your shooting surface and your target.
- Remove anything behind the net that a missed puck could hit: windows, cars, pets, younger siblings.
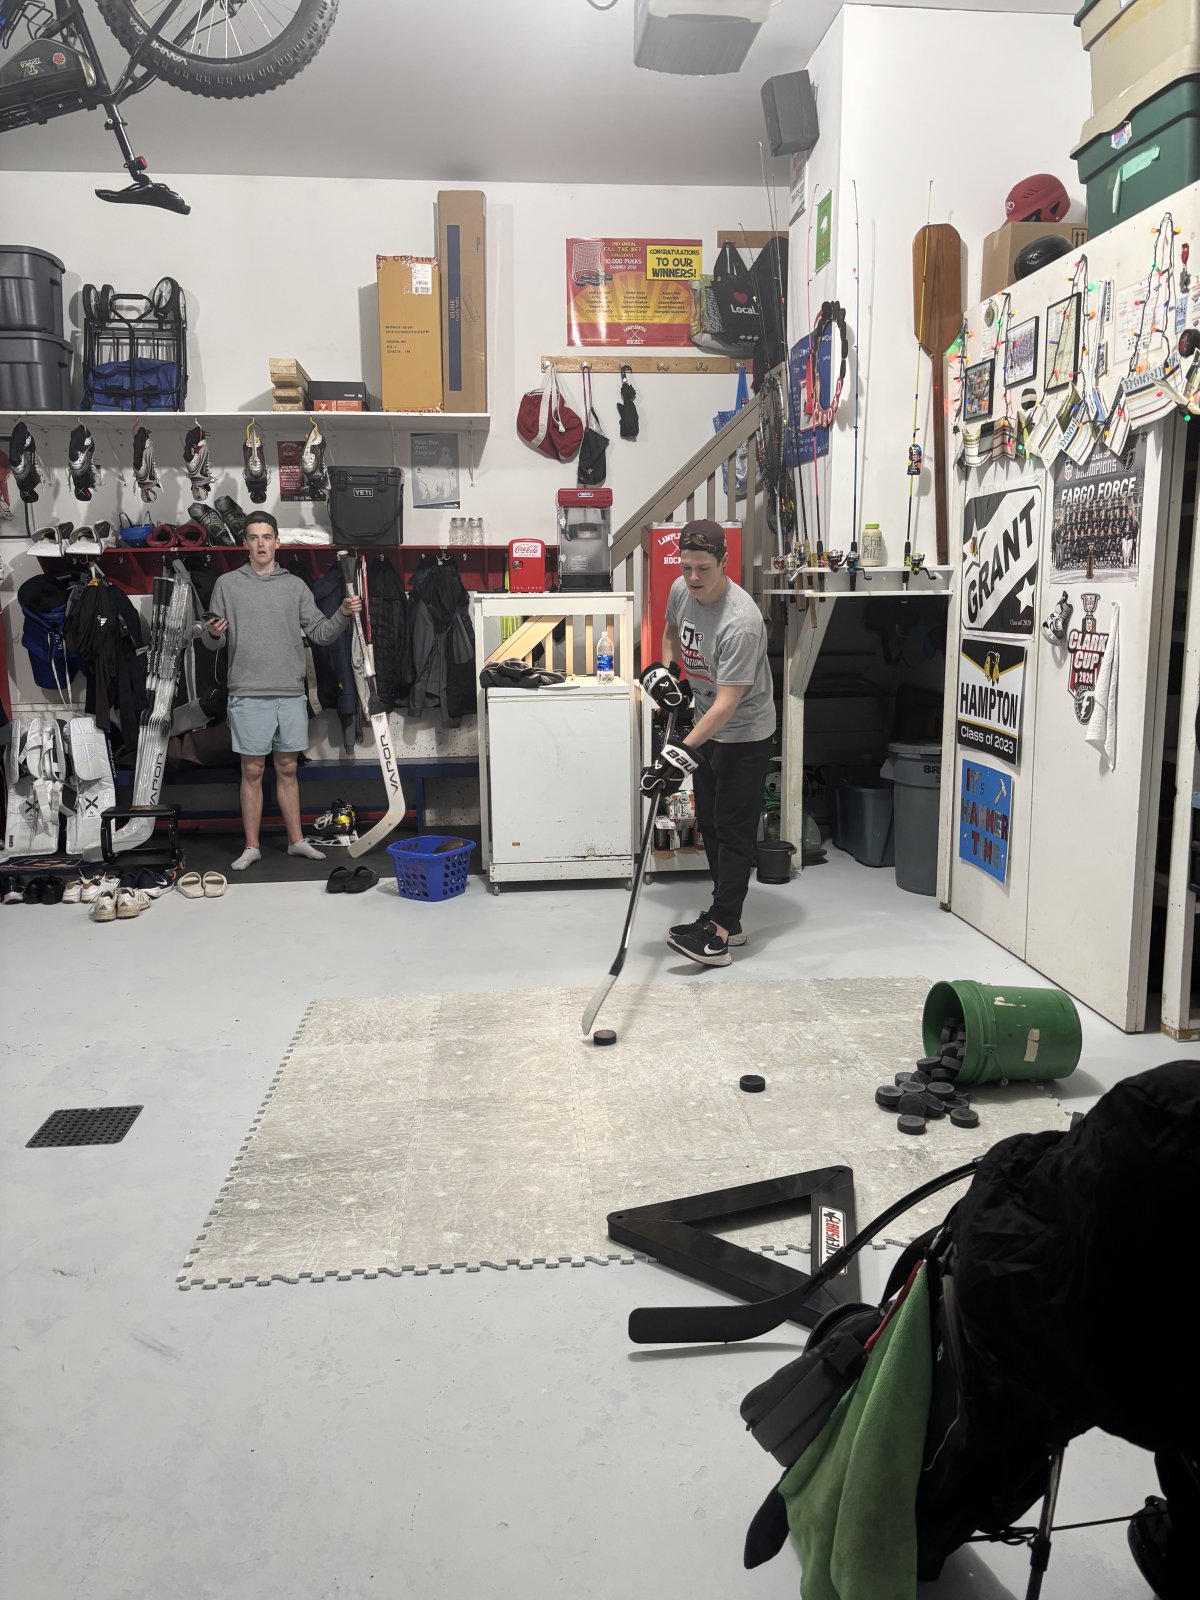
- Use a shooting surface that lets the puck slide. A smooth plastic sheet or purpose-built pad works; bare concrete grabs the puck and changes your release.
Anchor bands correctly
A band is only as safe as its anchor. A door handle that pops loose can send the band and hardware flying at your face.
- Anchor to a sturdy post, a heavy rack, or a purpose-built anchor rated for the band's tension.
- Never anchor to a door handle, a chair, a fence picket, or anything that can slip.
- Inspect the band before every session. Look for nicks, cracks, or a faded, chalky surface. A damaged band can snap without warning.
Inspect your equipment
- Check the stick shaft for cracks, especially near the blade and the taper.
- Make sure the internal weight is fully seated and the end plug is back in before you shoot.
- Check that your shooting surface is dry and free of grit that can catch the puck.
Recognize a form break from fatigue
Fatigue is normal. A form break is not. Stop the set when you see any of these:
- Your head comes up before the puck leaves the blade.
- Your follow-through shortens or your hands drop.
- Your weight stops transferring from back leg to front leg.
Common mistakes to avoid
- Too much weight too soon. Start light. Add load only when your form stays clean.
- Shooting cold. Always warm up your wrists, hips, and core first.
- Chasing speed over form. A sloppy fast rep teaches sloppy habits.
For youth players, check the CDC guidance on youth sports safety for general injury-prevention basics. Proper warm-ups and gradual progress lower the risk of overuse injuries. The American Academy of Pediatrics guidance on youth sports also stresses age-appropriate strength work and proper rest. Build load gradually. Do not rush it.
How to Measure Whether Resistance Training Is Working
You can measure whether resistance training is working with a few simple tests. Run them every two weeks and record the numbers.
Track these four things:
- Shot speed: Use a radar gun or a shot-speed app. Test the same shot each time.
- Release time: Time how long it takes from stick load to puck off the blade.
- Accuracy: Shoot 20 pucks at a target and count your hits.
- Stickhandling: Time a set pattern with the puck and compare runs.
Run the test the same way every time, same distance, same puck, same target, so the numbers mean something. Good progress looks like shot speed climbing over a few weeks, accuracy holding steady or improving, and a quicker release without extra effort.
Lamplighter Hockey also runs Power Shooting training for players who want coached reps, off-ice, ages 5 to 18. For teams, a team order of stick weights gives every player a tool to train with.

Frequently Asked Questions
How can I add resistance to hockey shooting practice without changing my shooting technique?
The key is to add resistance in a way that preserves your natural movement. Stick weights, like the Lamplighter Hockey Stick Weight, slide inside the shaft and add weight without altering your grip or release. Start with a lighter weight (1/2 pound for youth, 1 pound for most players) and focus on maintaining the same shooting pocket and follow-through. Resistance bands around the stick blade can also work, but they may pull your hands out of position, so use them sparingly and check your form often.
Can stick weights help you shoot harder in hockey?
Yes, stick weights add resistance that forces your shooting muscles to work harder, which can lead to increased shot velocity over time. The Lamplighter Hockey Stick Weight is designed to fit inside most sticks and adds 1/2, 1, or 2 pounds. Players who train with it consistently often see improvements in both power and puck control. Just remember to remove the weight for games and focus on technique during training so you don't develop bad habits.
How often should hockey players do resistance shooting drills?
Two to three times per week is a good starting point for resistance shooting drills. Give your muscles at least one day of rest between sessions to recover. During the offseason, you can increase to four sessions per week, but always listen to your body. If you notice fatigue or a drop in shot accuracy, reduce the resistance or take an extra rest day. Consistency over months matters more than cramming in daily workouts.
What equipment can I use for resistance-based hockey shooting practice?
You can use stick weights, resistance bands, or weighted pucks. Stick weights are the most popular because they fit inside your own stick and don't change your shooting motion. Resistance bands attached to a net or wall add horizontal resistance for wrist and forearm strength. Weighted pucks (1 to 2 pounds) are another option. For off-ice practice, a shooting pad and a net are also helpful.
Adding resistance to your shot takes patience and the right gear. The players who stick with a plan, keep their form clean, and track their results are the ones who see real gains. Lamplighter Hockey makes that easier with stick weights that fit your own stick, a virtually indestructible design built for daily use, and a free replacement if the fabric ever tears. Get started with Lamplighter Hockey and build a shot that turns heads this season.