
Youth Hockey Shooting Technique: 7 Tips to Build Power
Table of Contents
- Why Shooting Technique Matters for Young Hockey Players
- Master the Wrist Shot Technique for Kids
- Youth Hockey Shooting Drills You Can Do at Home
- Off-Ice Hockey Shooting Drills for Strength Building
- How to Shoot a Hockey Puck Harder: Power Generation Fundamentals
- Common Shooting Mistakes Young Players Make
- Building a Consistent Practice Routine with Measurable Progress
- Frequently Asked Questions
Last Updated: October 8, 2026
Why Shooting Technique Matters for Young Hockey Players
Shooting is the most direct path to scoring goals, yet many young players neglect the fundamentals. Proper technique builds confidence, increases scoring opportunities, and creates a foundation that carries through high school and beyond.
The difference between a weak shot and a powerful one comes down to mechanics, not effort. That's why youth hockey shooting technique matters early, bad habits formed at age 10 are harder to break at 16.
The good news: shooting mechanics improve through deliberate practice. You don't need a private coach or expensive equipment, just fundamentals, correct repetition, and measurement.
Master the Wrist Shot Technique for Kids
The wrist shot is the most common and versatile shot in hockey, faster to release than a slapshot, more accurate than a snapshot, and the shot young players use most in games. Mastering it creates a foundation for everything else.
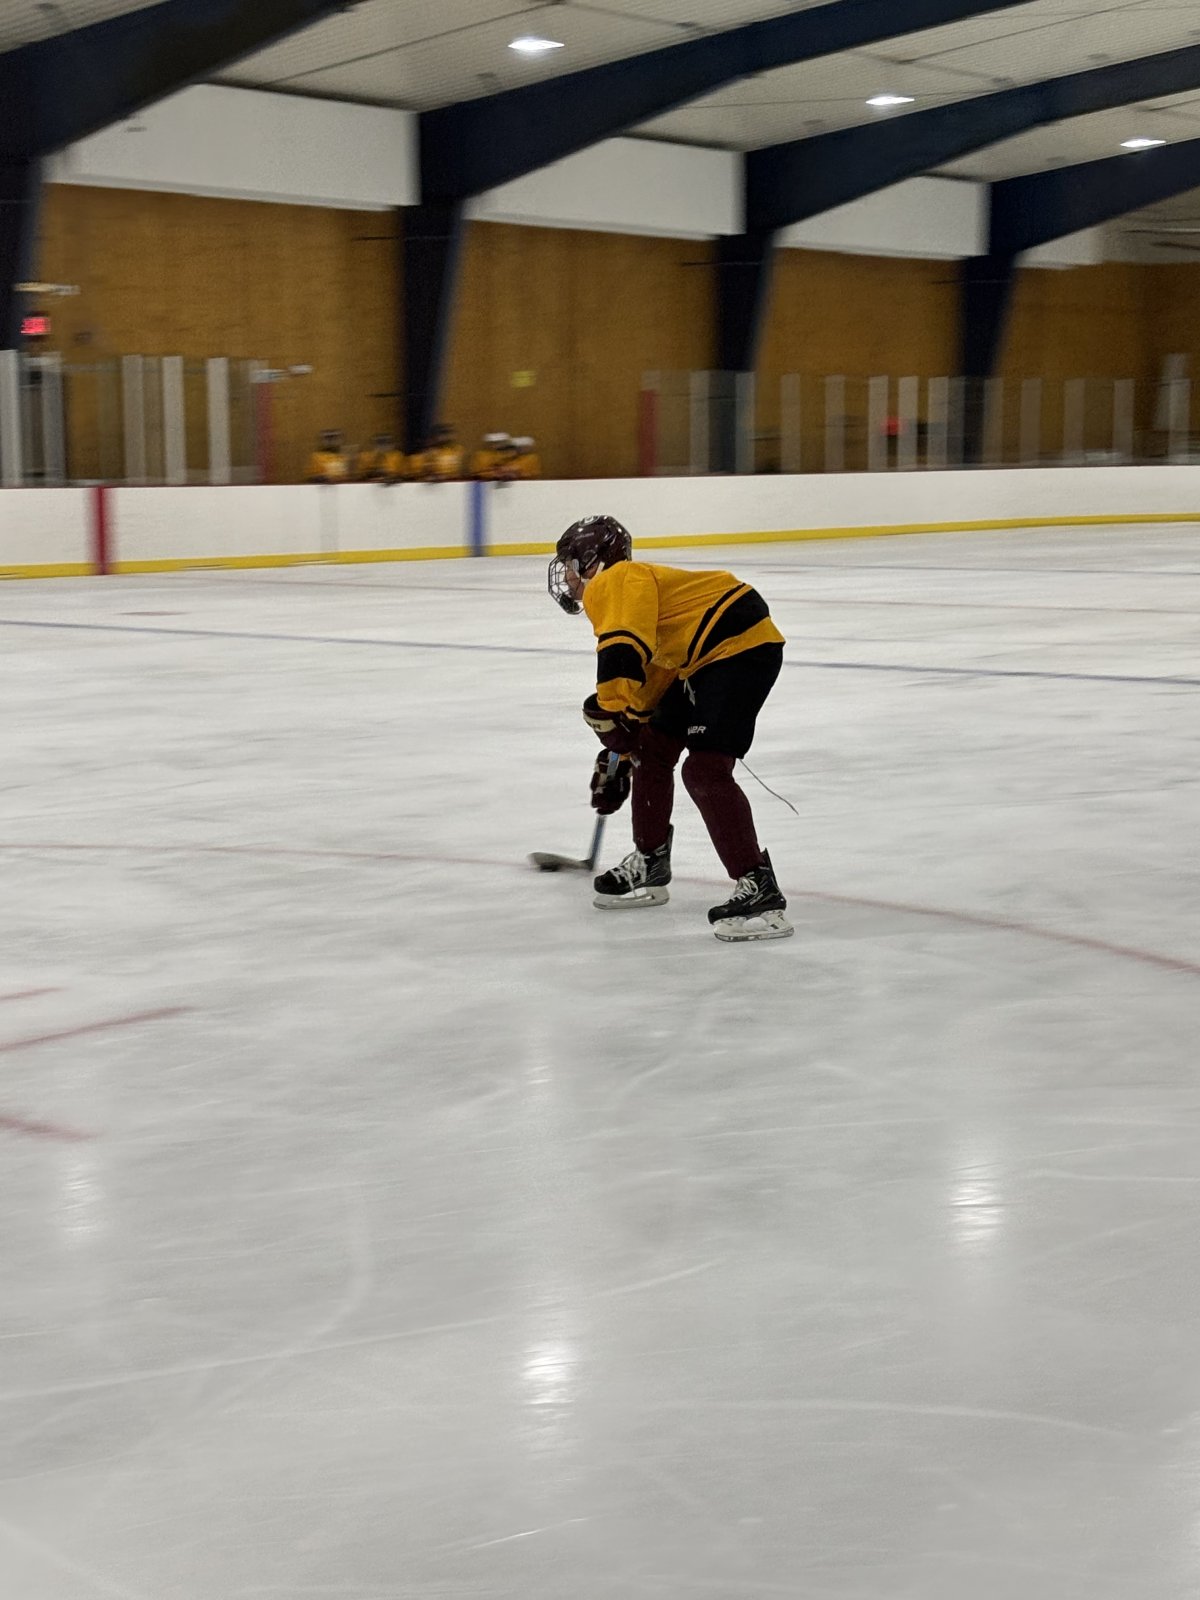
Proper Hand and Arm Positioning
Your hands control the shot. Place your bottom hand low on the stick, near the blade, and your top hand roughly in the middle of the shaft.
Many young players grip the stick too tightly, which slows the release and reduces flexibility.
Keep the blade flat on the ice when you pull the puck back. A tilted blade produces an inaccurate or weak shot, so check your blade position before every practice shot.
Weight Transfer and Body Rotation
Power comes from your legs and core, not your arms.
Start with your weight on your back foot. As you pull the puck back, rotate your hips and shoulders toward the target while your front foot stays planted.
This weight transfer is the difference between a 40 mph shot and a 60 mph shot. Practice it slowly; feel the rotation. Speed follows once the motion becomes natural.
Release and Follow-Through
The release is the moment your blade leaves the puck. A quick release gets the puck away faster, giving the goalie less time to react; a delayed release comes from poor positioning or hesitation.
After you release, your stick should continue toward your target and finish high. A complete follow-through shows you've transferred all your energy into the puck; a short, choppy one signals you've held back.
Coaching Cues by Age and Skill Level
Most youth shooting advice treats every player the same, but a 7-year-old and a 14-year-old need different cues for the same mechanic.
Ages 10-12 (Squirt/10U through PeeWee/12U). Mechanics lock in here.
Ages 13-15 (Bantam/14U and beyond). Layer cues: release speed, shooting in stride, and loading hands and hips before the pass arrives.
A common pattern: a player who looks sound in a stationary drill falls apart shooting off a pass or in motion.
What "Good" Looks Like at Each Stage
Use these as rough checkpoints, not pass/fail gates. Every player develops on their own timeline.
- Beginner: Puck contacts the heel or middle of the blade. Follow-through finishes above the waist. Shot reaches the net from 10 feet.
- Intermediate: Weight visibly shifts from back foot to front foot. Release is quick enough that a parent can't count "one-Mississippi" between pull-back and puck leaving the stick. Accuracy above 50% on stationary shots from 15 feet.
- Advanced: Shot is repeatable off a pass and in stride. Player can pick a target (high glove, low stick side) and hit it more often than not. Release is fast enough to beat a goalie who knows the shot is coming.
Youth Hockey Shooting Drills You Can Do at Home
Shooting drills don't require ice time or a goalie. Many of the most effective drills happen off the ice or in your driveway with a net. Consistency comes from repetition, and repetition is easiest when you can practice anytime.
Snap-and-Release Drill
This drill builds a quick release. Set up 15-20 pucks in a line, snap each into the net without a full backswing, and move immediately to the next.
The snap-and-release drill trains muscle memory for a fast release: pull the puck back slightly, then snap it forward.
Do this drill 2-3 times per week. Track how many pucks you hit on target.
One-Touch Accuracy Drill
Pass a puck to yourself or have a partner pass, then shoot immediately without stopping it. This builds the ability to shoot off a pass, how most goals are scored in real games.
Set up 10 pucks around the slot, shoot each with a one-touch motion, count how many hit the target, and repeat for three rounds.
Off-Ice Hockey Shooting Drills for Strength Building
Off-ice training builds strength and power that transfers directly to your shot. Many young players skip it because it's less fun than on-ice practice, but it's where the biggest gains happen.
Stick Weight Training for Shot Power
Using a weighted stick during practice creates resistance; when you remove the weight, your stick feels lighter and faster. This is contrast training, and it works.

The Lamplighter Hockey Stick Weight slides into your stick without tools or tape.
Use the stick weight in your regular routine: take 20-30 shots with it in, then remove it and take another 20-30.
Power Shooting: Shooting and Stick-Handling Training - Subscription Plan →
How to Shoot a Hockey Puck Harder: Power Generation Fundamentals
Shooting harder doesn't mean swinging harder. It means using proper mechanics.
Power comes from three sources: weight transfer, body rotation, and stick flex. When all three work together, the puck explodes off your stick.
Your stick flexes when you load it during the backswing, storing energy that transfers to the puck on release.
The sequence matters: weight shifts first, rotation follows, release comes last.
Common Shooting Mistakes Young Players Make
Most young hockey players make the same mistakes, but the more useful skill is diagnosing a shot by its outcome. If your shot goes wide, you can trace it back to the specific mechanical cause instead of guessing.
Troubleshooting by Shot Outcome
Use this table when a shot isn't doing what the player wants. Find the symptom, then work the fix.
Symptom |
Likely Cause |
Fix |
|---|---|---|
Shot sails high over the net |
Follow-through finishing too high, or blade open at release |
Have the player finish at chest height instead of over the head; check blade angle is square to target at release |
Shot goes wide left or right |
Puck contacting the toe of the blade, or hips not rotating through to target |
Move contact point back to heel/middle; slow the shot down and exaggerate hip rotation toward the net |
Shot is weak, no pop |
Arms doing the work instead of legs and core; stick flex too stiff for player's strength |
Rehearse weight transfer with no puck; check stick flex is appropriate for age and strength |
Shot is accurate but slow to release |
Long backswing; player pulling puck too far behind the body |
Shorten the backswing; practice snap-and-release reps with no wind-up |
Shot wobbles or flutters in flight |
Puck not rolling off the blade cleanly; blade not flat on ice at contact |
Check blade lies flat during the pull-back; slow down and feel the puck roll from heel to toe |
Shot consistently hits the goalie's chest |
Player aiming at the net instead of a target; no target picked before the shot |
Pick a specific spot (high glove, low stick side) before every practice shot |
Player loses balance on the shot |
Weight staying on back foot; front foot not planted |
Rehearse the plant-and-rotate motion without a puck; 20 reps per session |
The Six Mistakes Behind Most of Those Symptoms
Hands too high on the stick. This reduces leverage and power.
Elbows flaring out. This wastes energy and reduces control.
Pulling the puck too far back. A long backswing takes time you rarely have in games.
Not finishing the follow-through. A complete follow-through means you've transferred all your energy.
Rushing the shot. Young players often hurry. Slow down. Focus on mechanics.
How to Use Video to Catch What You Can't Feel
Players can't feel their own mechanics the way a camera can see them. A parent or coach with a phone can film 10 shots from the side and 10 from behind, and the footage will show things the player swears they aren't doing.
What to look for on film:
- Side view: Does the front foot plant before the hips rotate? Does the follow-through finish high and toward the target? Does the back foot stay on the ice through the shot?
- Behind view: Do the hips open toward the net, or does the upper body twist while the lower body stays square? Is the blade square to the target at release?
- Slow motion: Where does the puck contact the blade: heel, middle, or toe? The contact point is often the single biggest fixable issue.
A simple routine: film 10 shots, watch them back at half speed, pick one thing to fix, then film 10 more. One change per session is enough.
Building a Consistent Practice Routine with Measurable Progress
Progress requires structure. Random shooting practice produces random results. A structured routine with measurable goals produces consistent improvement.
Drill |
Duration |
Frequency |
Target |
|---|---|---|---|
Snap-and-release |
5 minutes |
3x per week |
20 pucks on target |
One-touch accuracy |
5 minutes |
2x per week |
8 of 10 on target |
Stick weight training |
10 minutes |
3x per week |
Maintain form with weight |
Core conditioning |
10 minutes |
2-3x per week |
All exercises with proper form |
Game-speed shooting |
10 minutes |
1x per week |
High-intensity, low-volume |
Start with this routine, do it consistently for four weeks, and track your results.
The Lamplighter Hockey Power Package combines the stick weight with skate weights for comprehensive off-ice training. Young players using weighted training tools can see improvements in shot power.
Building a more powerful youth hockey shooting technique takes time, but the payoff is immediate.
Focus on mechanics before speed, master the wrist shot before moving to other shots, and practice deliberately with measurable goals.
Frequently Asked Questions
How can a young hockey player improve their shot?
Young hockey players improve shot quality through consistent practice of shooting mechanics, proper hand and arm positioning, and weight transfer drills. Focus on fundamentals first: puck placement relative to your feet, body rotation, and follow-through. Then add repetition—practice the same shot type 20-30 times per session, 3-4 times per week. Using a stick weight during off-ice training accelerates power development by adding resistance that builds muscle memory and upper body strength.
What is the correct wrist shot technique for kids?
The wrist shot starts with the puck positioned near your back foot. Place your bottom hand lower on the stick for control and your top hand higher for leverage. Pull the puck back slightly, then snap it forward by rotating your hips and shoulders while transferring weight from your back foot to your front foot. Your wrists flick through the release, and your stick blade follows through toward your target. Keep your head up and maintain balance throughout the motion.
How can youth hockey players shoot with more power?
Power comes from three elements: proper mechanics, strength training, and resistance practice. Master body rotation and weight transfer—these generate most shot velocity, not arm strength alone. Build upper body strength through off-ice conditioning and stick weight training. The Lamplighter Hockey Stick Weight adds realistic resistance during drills, training your muscles to work harder so that when you remove the weight during games, your shot feels faster and stronger. Consistent practice with resistance builds the muscle memory needed for harder shots.
What are the best hockey shooting drills for beginners?
Start with stationary drills: position yourself 10-15 feet from a target (wall or net) and shoot 20 snapshots, focusing on accuracy over power. Progress to one-touch drills where you receive a pass and shoot immediately, building quick-release skills. Add movement drills where you skate to different spots and shoot from each position. Beginners should prioritize shooting form and consistency before adding speed. Practice 3-4 times per week for 15-20 minutes per session, and film yourself to identify form breakdowns.