
Hockey Stick Weights for Face offs: A How-To Guide
Table of Contents
- Why Hockey Stick Weights for Faceoffs Build Real Strength
- What You'll Need Before You Start
- Step 1: Choose the Right Weight and Placement
- Step 2: Master Hockey Face off Technique With Added Resistance
- Step 3: Run Hockey Face off Training Drills That Transfer to Games
- Step 4: Build Hockey Stick handling With a Heavy Stick
- Common Mistakes to Avoid and How to Progress Safely
- Conclusion
- Frequently Asked Questions
Last Updated: October 12, 2026
Why Hockey Stick Weights for Face offs Build Real Strength
Winning a face off comes down to hand speed, forearm strength, and holding your ground when someone leans on you. At Lamplighter Hockey, we build our tools around one idea: add resistance to the stick you already use, and your body adapts to move it faster when the weight comes out.

Face offs are won in fractions of a second, and the reaction starts in the hands and wrists, strength you can build off the ice.
Most players train stick handling with a regular stick and wonder why their hands feel slow in games. USA Hockey's player development resources emphasize age-appropriate strength work as a foundation for skill development, and stick weights fit that model well.
This guide covers weight selection, face off technique, drills, and safe progression.
What You'll Need Before You Start
You need four things before your first weighted session: a stick, a weight, a training space, and a plan. The Lamplighter Hockey Stick Weight slides inside the shaft of most junior, intermediate, and senior sticks, so you train with your own equipment.
Team Order of Lamplighter Hockey Stick Weights
Here's your checklist:
- Your stick, with the plug removed from the butt end
- A stick weight sized to your age and position
- A smooth surface for stick handling (driveway, basement, or off-ice mat)
The weight goes inside the shaft, stays secure during shooting and stick handling, and pulls out for games, warm up with resistance, then play at full speed without it.
Step 1: Choose the Right Weight and Placement
Match the weight to the player, not the other way around. Lamplighter Hockey offers three sizes; the right one depends on age, strength, and position.
Weight sizes by age and position
|
Weight |
Best For |
Typical Age |
Primary Use |
|---|---|---|---|
|
1/2 pound |
Young beginners |
8U and Mites |
Light resistance, grip and hand speed |
|
1 pound |
All ages |
Youth through adult |
Stick handling, passing, shot reps |
|
2 pounds |
Stronger players |
13 and up |
Shot power, face off strength, forearm work |
Centers and wingers who take draws should start lighter than they think. Heavy resistance early can slow the quick-twitch movement you're building.
Goalies and lacrosse players use the same weights, since the resistance trains the same muscle groups.
Placement is simple: the weight goes inside the shaft and the stick stays balanced.
Step 2: Master Hockey Face off Technique With Added Resistance
Hockey face off technique breaks down into four parts: stance, grip, timing, and the win. Add weight and each part changes, resistance changes where your hands want to sit, how your wrists fire, and how quickly you recover if you lose the draw.
How added weight changes your grip and leverage
On a draw, your bottom hand drives the sweep, controls the puck's path, and absorbs counter-pressure; your top hand steers and stabilizes.
When you pull the weight out for games, keep the same lower grip for your first few draws. It will feel light and fast, and the extra leverage carries over.
Where the weight sits matters for face off reps
Placement changes how the stick behaves on a draw more than total weight does.
- Weight seated at the butt end (top of the shaft). The mass sits closest to your top hand. The stick feels top-heavy and the sweep feels slower to start but more controlled, the better setup for learning draw timing and puck placement.
- Weight seated mid-shaft. The balance point moves toward the middle, closer to a regulation stick, with resistance evenly distributed across both hands, the better setup for live face off battles and reaction work.
- Weight seated near the blade. The mass sits far from your hands, so the stick feels blade-heavy and the tip wants to drop. This loads the wrist and forearm hardest, but makes it easy to drag the blade and lose the puck. Use it sparingly, only for short stationary reps.
A common pattern: start at the butt end, move mid-shaft after a week or two, and use the blade-heavy setup only for short grip-strength sets.
Draw-type specifics
Not every draw uses the same motion, and the weighted stick exposes the differences.
Forehand draw. You push the puck forward to your strong side.
Tie-up draw. You don't win the puck clean, you lock up the opponent's stick and let a winger come through.
Stick-lift draw. You lift the opponent's stick off the ice and take the puck yourself.
The four-part draw, with weight
- Set your stance. Feet shoulder-width, knees bent, weight on the balls of your feet. Bottom hand low, top hand near the top. The weighted stick makes that bottom-hand grip work harder, the point.
- Lock your eyes on the puck, not the opponent's stick. Watching the puck shortens reaction time; watching the opponent's stick makes you react to a fake.
- On the official's motion, drive your bottom hand forward and down. With weight in, this first drive is slower, expected. Don't rush it; the goal is a clean, repeatable motion under load.
- Turn your wrists to sweep the puck back, then hold your position for a beat. The hold trains the isometric strength you need when the opponent leans on you.
Training effect vs. game performance
A weighted stick builds strength and the neural pattern for the draw, but it doesn't make you faster on game day by itself. Speed comes from the unweighted reps right after the weighted ones, when your nervous system is primed to move a lighter load at the speed you just built under resistance.
Step 3: Run Hockey Face off Training Drills That Transfer to Games
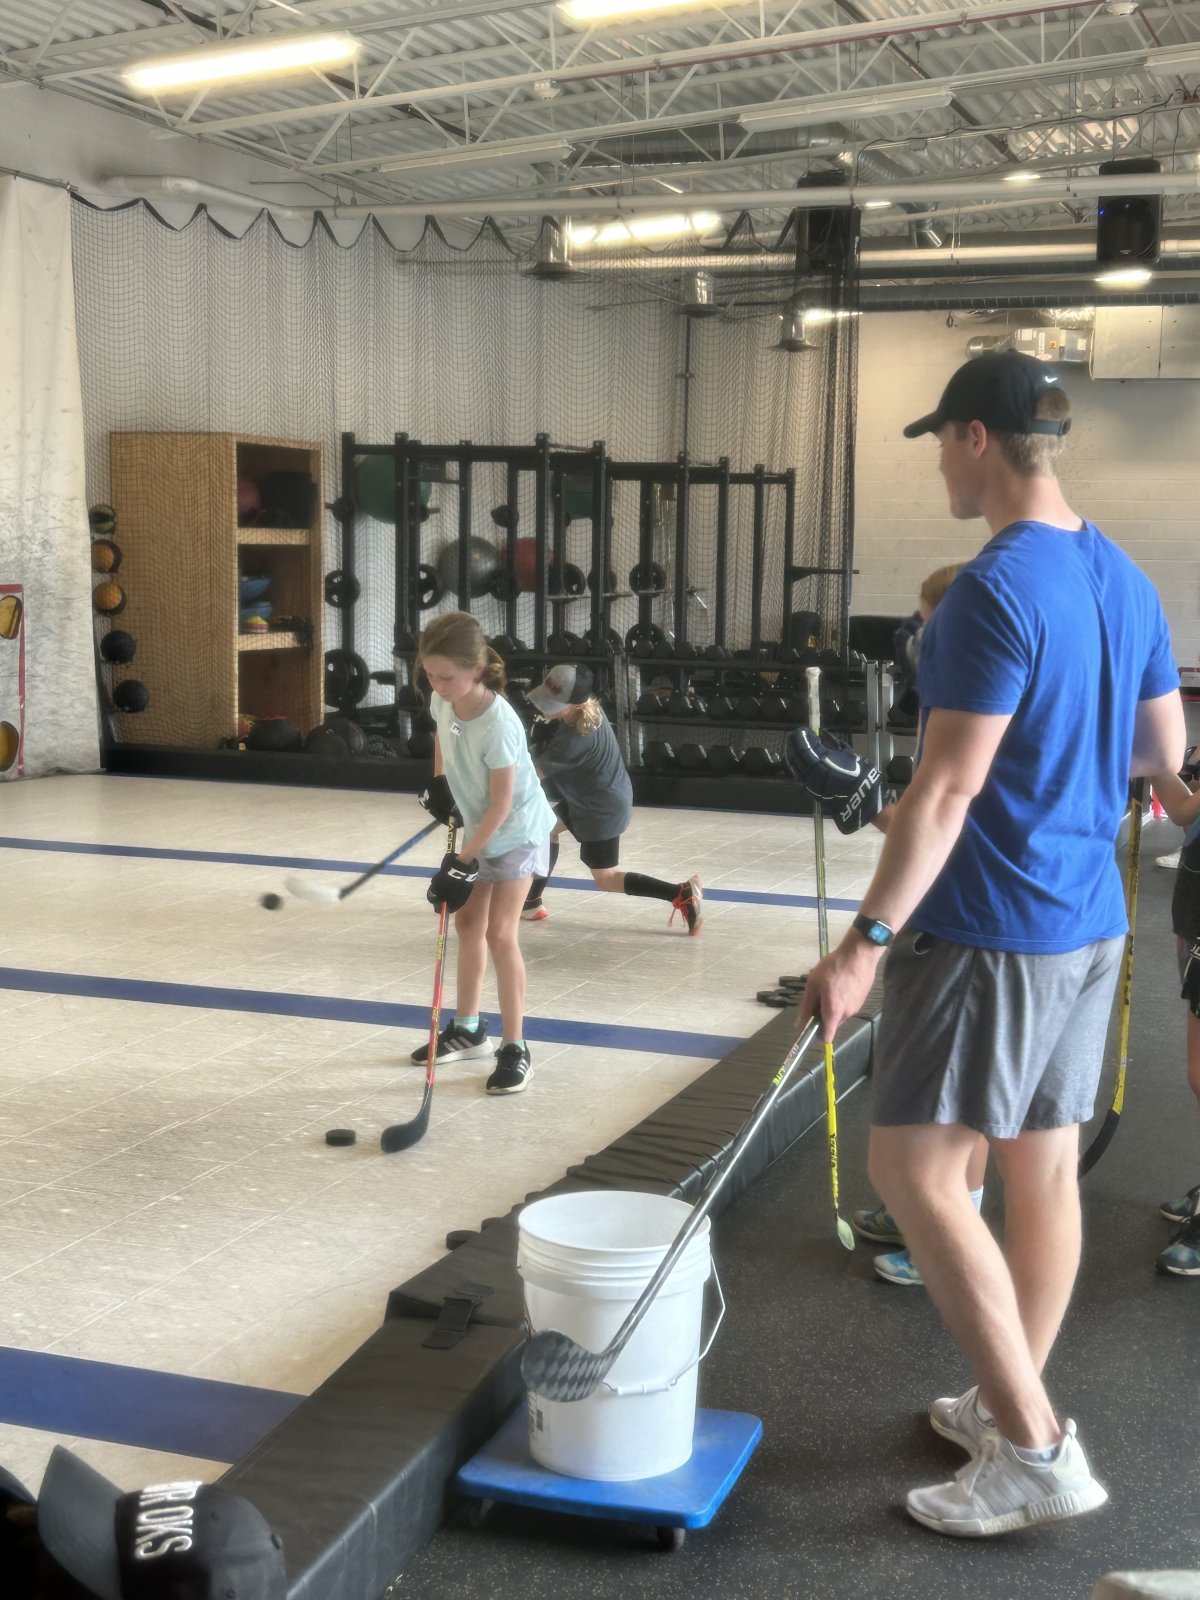
Hockey face off training drills only matter if they carry over to game speed. The drills below follow a simple structure: a weighted block, an unweighted block, and a measurable number you track every session.
The session template
Every session follows the same shape:
- Warmup (5 minutes). Light stick handling, no weight.
- Weighted block (8-10 minutes). Two to three drills with the weight in.
- Unweighted block (5-8 minutes). The same drills, weight out, at full speed.
Total: 20-25 minutes. Youth players (12U and under) should cut the weighted block to 5-6 minutes and skip the third drill.
Drill 1: Weighted draw reps (sets and reps)
Three sets of 8 slow draws with the weight in, then three sets of 8 fast draws with the weight out. Rest 45 seconds between sets.
Lamplighter Hockey Stick Weight (available in 3 sizes) →
Focus on the sweep and wrist turn. On weighted sets, the last two reps should feel hardest, if not, add a rep. On unweighted sets, the goal is to feel the stick move faster than last week.
Drill 2: Partner face off battles (live reps)
Take 15 live draws against a partner, alternating who wins. Rest 30 seconds every 5 draws.
The resistance builds strength; the live reps build timing. Without a partner, use a heavy bag or wall-mounted pad for the sweep motion, you lose the reaction component but keep the resistance.
Drill 3: Wall passing with weight
Three sets of 20 passes off a wall, forehand and backhand. Rest 30 seconds between sets.
This trains passing and puck control under load. Keep your top hand loose and let the bottom hand work. If passes spray, you're gripping too tight, loosen the top hand.
Drill 4: Quick-hand puck pulls
Set five pucks in a line about a foot apart. Pull each back to your feet with quick wrist snaps. Three sets, 30 seconds on, 30 seconds off.
This most directly mimics the wrist snap at the end of a draw. Do the first set with the weight in, the next two with it out.
Drill 5: Reaction-start reps
Set up in your face off stance with the weight in. Have a partner clap, drop a puck, or say "go" at random intervals. On the signal, fire your draw motion as fast as you can.
This is the closest off-ice approximation of the face off reaction. It trains the start, not the sweep, and the start wins the puck in the first half-second.
What to measure
Track three numbers once per week in a notebook or phone note:
- Draw wins in a 15-draw set. Take 15 live draws against the same partner each week and count wins. Over four to six weeks, most players see this climb.
- Reaction time. Have a partner time your first movement from signal to puck touch. A phone stopwatch is fine. Look for a downward trend.
- Hand speed. Count quick puck pulls in 30 seconds. This should rise as your forearms adapt.
Age and injury modifications
- 8U and Mites. 1/2-pound weight, 5-minute weighted block, no live battles. Focus on grip and hand speed, not strength.
- 10U-12U. 1-pound weight, 6-8 minute weighted block, light live battles with a similar-sized partner.
- 13 and up. 1- to 2-pound weight, full session template. Progress only when the current size feels easy for a full week.
If your technique breaks down, dragging the blade, losing balance, or gripping so hard your forearm cramps, drop back to the lighter weight. Bad reps under load teach bad habits faster than good reps teach good ones.
Step 4: Build Hockey Stick handling With a Heavy Stick
Hockey stick handling with a heavy stick builds the hand, wrist, and forearm strength that makes quick hands possible.
Start with stationary stick handling: move the puck side to side, top hand loose, bottom hand active. Two minutes with the weight in.
Then add movement:
- Wide pulls, edge to edge
- Quick touches in a tight box
- Figure-eights around two pucks
The National Strength and Conditioning Association notes that progressive resistance training improves sport-specific power when it mirrors the movement pattern of the sport.
Two minutes of weighted stick handling, followed by two minutes without, is a solid set.
Common Mistakes to Avoid and How to Progress Safely
Injury prevention starts with progression. The most common mistakes: training too heavy, too often, and skipping the unweighted reps that teach speed.
Watch for these:
- Starting too heavy. Begin with the 1/2-pound or 1-pound weight, even if you feel strong.
- Training every day. Give your forearms and wrists 48 hours between weighted sessions.
- Skipping warmups. Five minutes of light stick handling before adding weight.
Age-appropriate use matters. For 8U and under, keep sessions short and light, the 1/2-pound weight is built for that group. Our stick weights are built to handle daily use, and we back them with a free replacement if the fabric ever tears.
Conclusion
Building a faster, stronger face off game takes consistent, progressive work, and the right tool makes every rep count. Lamplighter Hockey's stick weights slide into your own stick, add resistance to your draws, and come out for game day so you play at full speed. With three sizes, a durable design, and a free replacement guarantee, they're built for players who train year-round.
Frequently Asked Questions
Can practicing with a heavy hockey stick improve face off strength?
Yes. Adding weight to your stick forces your hands, wrists, and forearms to work harder during every rep, which builds the grip and wrist strength you need for a strong faceoff. The Lamplighter Hockey Stick Weight slides into your stick and lets you train with your own equipment. Start with 10 to 15 minutes of weighted face off reps, then remove the weight for game-speed practice. This contrast makes your regular stick feel lighter and faster.
How heavy should a hockey stick be for face off training?
The right weight depends on age and strength. The Lamplighter Hockey Stick Weight comes in three sizes: a 1/2-pound weight for 8U and Mites, a 1-pound weight for all ages, and a 2-pound weight for stronger players ages 13 and up. Start with the lighter option if you are new to weighted training, and move up only when you can complete your drills with clean technique and no wrist pain.
Will using a heavy stick affect stick handling?
During weighted training, your stick handling will feel slower and more deliberate. That is normal. The goal is to build the muscles and coordination that make your hands quicker when the weight is removed. Use the weighted stick for short, focused stick handling sessions, then switch to your regular stick to reinforce quick hands.
Should you use a weighted stick during regular practice?
Use the weighted stick during off-ice or pre-practice warmups, then remove it for team drills and scrimmages. The Lamplighter Hockey Stick Weight is designed to be inserted and removed easily, so you can keep it in your bag and add it for extra resistance when you work on face offs or shooting. Always take the weight out for games to get the full speed and feel of your regular stick.
Winning more draws starts with the work you put in before the puck drops. Lamplighter Hockey builds stick weights that fit your own stick, train your hands and forearms, and come out for games so you feel the speed difference immediately. Choose from three sizes, from the 1/2-pound weight for young players to the 2-pound weight for stronger athletes. Get started with Lamplighter Hockey and build the strength that wins faceoffs.