
How to Increase Puck Control for Youth Hockey Players
Table of Contents
- Why Puck Control Decides Who Wins the Puck
- Prerequisites: Equipment Fit and Setup Before You Drill
- Step 1: Build the Base With Puck-Control Basics
- Step 2: Youth Hockey Stick Handling Drills That Build Soft Hands
- Step 3: Off-Ice Stick Handling Drills for Kids at Home
- Step 4: Hockey Stick Handling With Head Up
- Step 5: Build a Hockey Stick Handling Practice Routine
- Common Mistakes and Coaching Corrections
- Frequently Asked Questions
Last Updated: October 17, 2026
Why Puck Control Decides Who Wins the Puck
This skill decides games: A player who can't control the puck has to look down to find it. In that half second, the puck is gone.
The good news: puck control is a trainable skill, not a gift. It comes from repetition, the right hand position, and drills that get harder as the player improves.
Below is a five-step plan you can run at home or at practice, with no fancy equipment needed to start.
Prerequisites: Equipment Fit and Setup Before You Drill
Before a single drill, check the stick. One that's too long or too stiff makes puck control harder than it needs to be.
Here's what to check:
- Stick length: Standing in shoes, the stick should reach roughly between the player's chin and nose. Too long, and the hands sit too far from the body.
- Stick flex: Young players need a whippier stick. A stiff senior stick won't load for a light player.
- Blade lie: The blade should sit flat on the ice when the player is in a hockey stance, not just standing straight up.
For safety, USA Hockey's coaching education materials are a good starting point for age-appropriate training guidance: USA Hockey coaching resources.
Get the setup right and every drill below gets easier. Skip it, and you'll fight the equipment all season.
Step 1: Build the Base With Puck-Control Basics
Good puck control starts with the body, not the hands. A low, balanced stance gives the hands room to work.
Stance, Hand Position, and Distance From the Body
Set the feet shoulder-width apart. Bend the knees and hips so the chest leans slightly forward, an engaged, athletic stance, not a stand-up posture.
Now the hands:
- Top hand sits near the top of the shaft.
- Bottom hand slides down, roughly a forearm's length below the top hand.
- Hands stay away from the body, out in front, so the player can see the puck and move it side to side.
Keep the puck in front of the body at all times. That's the habit that carries into games.
Bottom-Hand Reach, Push, and Pull
The bottom hand does most of the work. It reaches out, pushes the puck away, and pulls it back in.
Practice this pattern slowly:
- Push the puck forward a few inches with the bottom hand.
- Pull it back toward the feet.
- Reach side to side, keeping the blade flat.
Soft hands come from light grip pressure. A player who strangles the stick has stiff hands. Cue them to hold it like a tube of toothpaste they don't want to squeeze out.
Step 2: Youth Hockey Stick Handling Drills That Build Soft Hands
The best youth hockey stick handling drills force the player to move the puck through a range of motion, not just tap it in one spot. Each drill below has a setup, a rep scheme, and a simple success check.
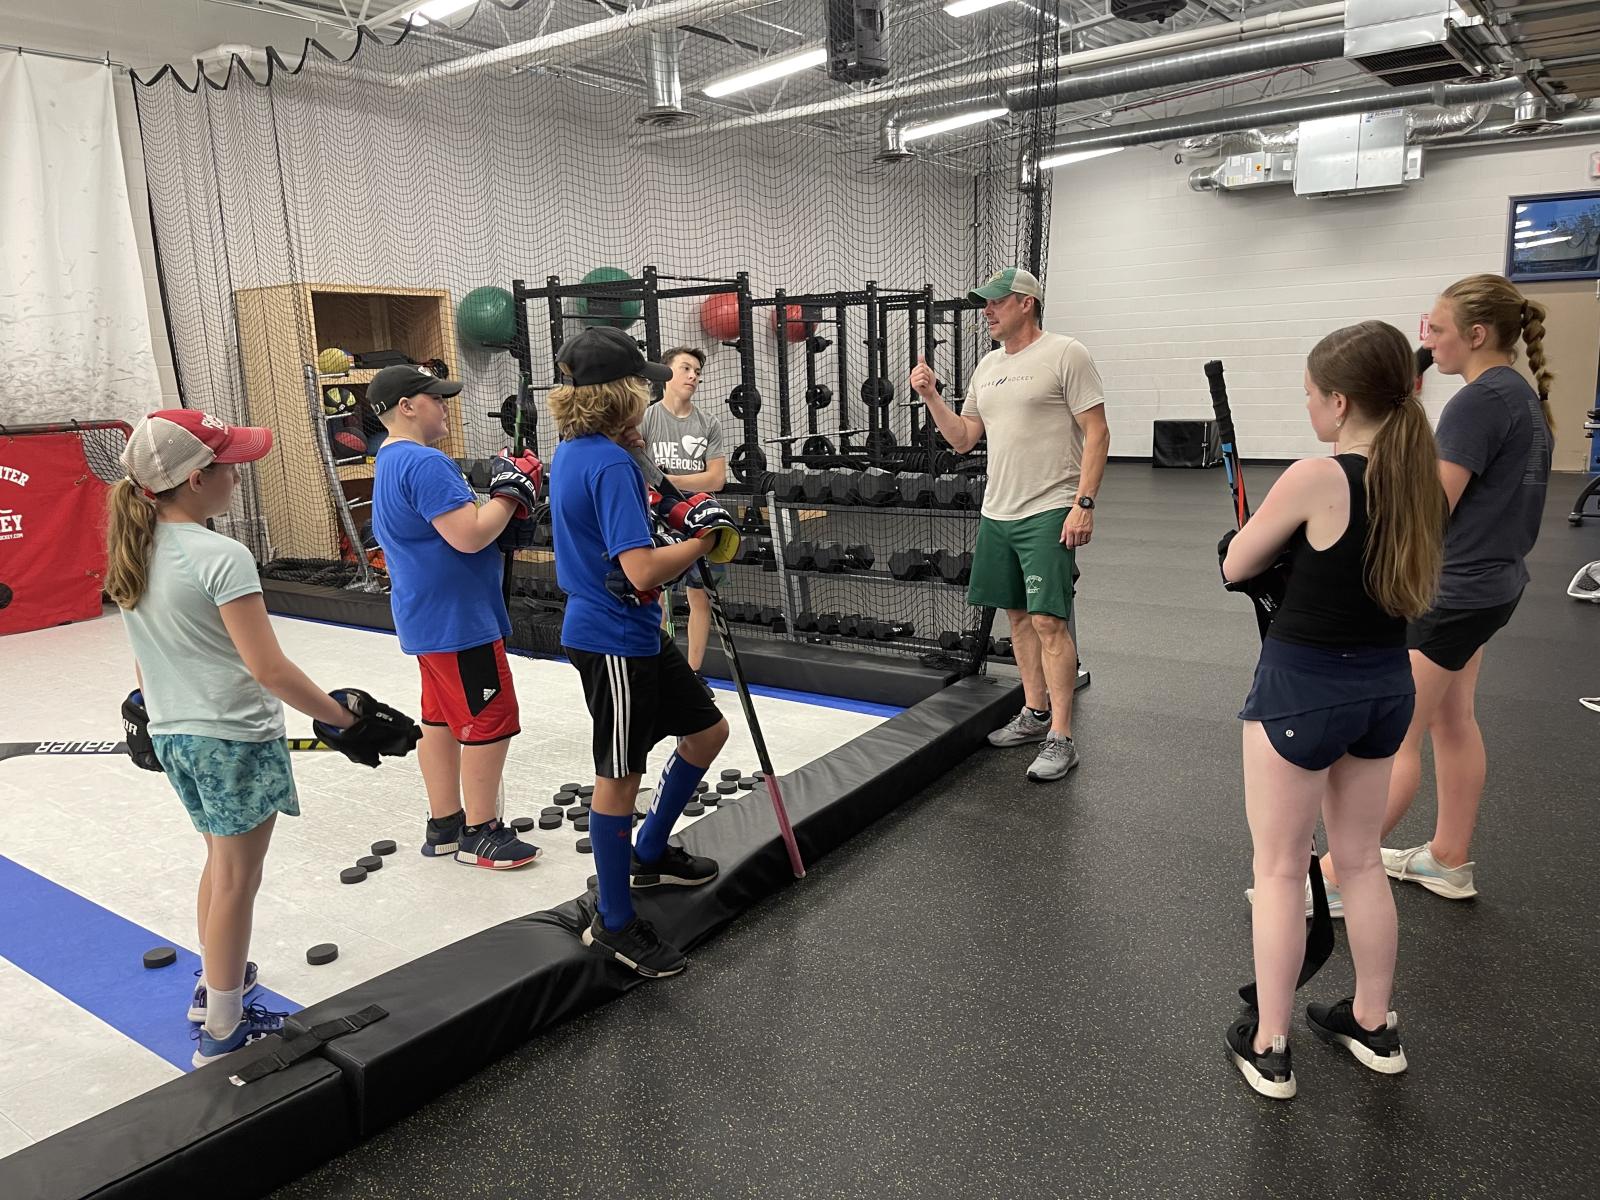
The Four Core Drills, With Reps and Success Checks
- Wide to narrow sweeps. Set two objects (cones, water bottles, shoes) about 24 inches apart for 8U and 18 inches for 10U and up. Sweep the puck blade-to-blade between them. Do 3 sets of 20 sweeps wide, then 3 sets of 20 with the objects moved 6 inches closer. Success check: the puck stays flat on the blade and the player's top hand does not drift above waist height.
- Figure eights. Place two objects 12-18 inches apart. Trace a figure eight around them for 30 seconds per set, 3 sets. Success check: the player completes at least 8 clean loops in 30 seconds without the puck leaving the blade.
- Toe drags. Pull the puck back with the toe of the blade, then push it forward with the heel. Do 3 sets of 15 per hand position. Success check: the puck travels at least 12 inches on each pull and returns to the same spot.
Those counts are starting benchmarks, not standards; the point is having a number to beat next week.
Drill Progression: From Wide to Tight to Game Speed
Every drill should follow the same three stages, each lasting at least two sessions before moving on.
Stage 1: Wide. Slow, big movements over 20-24 inches. The player learns the feel.
Stage 2: Tight. Same drill, objects moved 6 inches closer, hands faster. Two sessions of 10 minutes.
Stage 3: Game speed. Add a timer, a partner, or a defender.
A common mistake is jumping to game speed too soon. Speed hides sloppy technique.
Adding Resistance With a Stick Weight
Once the basics feel solid, add resistance. A stick weight slides inside the shaft of the player's own stick and makes every rep harder.
We built the Lamplighter Hockey Stick Weight for exactly this. The 1/2-pound size suits 8U and Mites, the 1-pound fits all ages, and the 2-pound is for stronger players 13 and up.

Train with it for stick handling reps, then take it out and feel the difference.
Step 3: Off-Ice Stick Handling Drills for Kids at Home
Off-ice stick handling drills for kids don't need much space. A driveway, garage, or basement corner works.
Power Shooting: Shooting and Stick-Handling Training - Subscription Plan →
Here's a simple at-home setup:
- Surface: A smooth mat, a sheet of plywood, or a garage floor.
- Puck: A golf ball, a street hockey ball, or a wooden ball.
- Obstacles: Cones, water bottles, or shoes.
Run a 10-minute session:
- Two minutes of wide sweeps.
- Two minutes of figure eights.
- Two minutes of toe drags.
- Two minutes of side-to-side taps.
- Two minutes of free stick handling with head up.
Ten focused minutes a day beats one long weekly session. Consistency builds the soft hands.
Step 4: Hockey Stick Handling With Head Up
Hockey stick handling with head up separates practice from game play. A player who watches the puck can't see the open teammate or the incoming check. Most youth players can stick handle head-up in a quiet garage and lose it the moment a parent walks toward them; the skill isn't trained until there's something to look at besides the wall.
Measure Head-Up Time Before You Try to Improve It
Start with a baseline. Set a phone timer for 30 seconds and have the player stick handle while a parent counts the seconds their eyes are on a target instead of the puck. Most 8U players start under 10 seconds; practiced 12U players often start around 15-20.
A simple weekly tracker:
- Date
- Drill
- Head-up seconds out of 30
After four weeks, the notes and the seconds tell the story better than a parent's memory.
Three Progressions That Add Real Distraction
Start with a simple rule: eyes on a target, not on the hands. Then add distraction in steps.
- Cue cards. Tape a number to the wall. The player calls it out while stick handling. Start with one card, then two, then three in sequence. Success check: three correct calls in a row with no puck loss.
- Partner calls. A parent or coach holds up fingers. The player shouts the number. Move from one hand to two hands, then to quick flashes of one second. Success check: 8 of 10 correct.
- Scan drill. Place three objects around the player. They name each one in order while moving the puck. Success check: complete the sequence twice in 30 seconds without looking down.
At first, the puck will squirt away, that's normal. Keep reps short and the head up; awareness grows with practice, and puck losses drop as head-up seconds climb.
Transfer to Game Situations
The gap between a garage drill and a game is pressure. Add it in this order, one step per week:
- Stationary with a passive defender. A parent stands in front with a stick on the ground; the player stick handles around it while keeping eyes up. Two minutes.
- Walking pace with a defender. The player moves slowly while the parent shadows. Two minutes.
- Skating with a defender. On ice or inline, the player stick handles at half speed while a partner applies light stick pressure. Two minutes.
- Decision drill. The player stick handles in a small area while a parent calls "left" or "right"; the player must move the puck that direction within one second. Two minutes.
A common pattern: the player looks great in step 1 and falls apart in step 3. That's not failure, it's the signal that step 3 is where the real training happens. Stay there until head-up seconds stay within 20% of the stationary number.
Step 5: Build a Hockey Stick Handling Practice Routine
A hockey stick handling practice routine turns scattered drills into steady progress. The key is a plan the player will actually follow.
Here's a simple structure:
- Warm-up (2 minutes): Wide sweeps, no weight.
- Skill block (6 minutes): Two drills from Step 2.
- Resistance block (4 minutes): Same drills with a stick weight.
That's 18 minutes. Do it three to four times a week.
A Sample Weekly Plan by Age Group
Age Group |
Sessions per Week |
Session Length |
Focus |
|---|---|---|---|
8U / Mites |
2-3 |
10-12 minutes |
Wide sweeps, stance, light 1/2-pound weight |
10U / Squirts |
3 |
15 minutes |
Figure eights, toe drags, head-up cues |
12U / Peewees |
3-4 |
18 minutes |
Tight-space drills, 1-pound weight |
14U+ / Bantams |
4 |
20 minutes |
Game-speed reps, 2-pound weight, defenders |
Track progress with a simple log: date, drill, reps, and one note on what felt better. Over a month, the notes tell the story.
Common Mistakes and Coaching Corrections
Most puck-control problems come from a short list of fixable mistakes. Here's what we see most often, and how to correct each one.
Mistake |
Correction |
Why It Matters |
|---|---|---|
Watching the puck |
Head-up cue drills |
Kills game awareness |
Hands too close to body |
Push hands out front |
Limits reach and control |
Standing straight up |
Bend knees, stay low |
Loses balance and power |
Death grip on the stick |
Light grip pressure |
Stiff hands, slow moves |
Drilling only at full speed |
Slow to fast progression |
Speed hides bad technique |
Skipping equipment check |
Fit stick length and flex |
Wrong stick fights the player |
A few more corrections worth knowing:
- Too much weight too soon. Start with the lightest stick weight and add load only when reps look clean.
- Long, rare sessions. Short daily reps beat weekend marathons.
- No game transfer. Add a partner or defender once a week so drills look like game action.
For players who want structured, coached work, our Power Shooting and Stick-Handling Training program runs off-ice for ages 5-18 and builds these same habits under a coach's eye.

Puck control doesn't come from talent.
At Lamplighter Hockey, we built our stick weights to make those reps count. Our team order option outfits a whole roster at once.
Get started with Lamplighter Hockey and give your player the reps that build real confidence on the ice.
Frequently Asked Questions
How often should young hockey players practice stick handling?
Short, frequent sessions beat long ones. Three to four 15-minute sessions per week is enough for most players ages 8-12 to see steady gains, while teens can handle 20-25 minutes four or five times a week. Keep the work at home light and game-like rather than grinding. Consistency matters more than volume: 15 minutes every other day for a month will do more for puck control than one 90-minute session followed by two weeks off.
How can you teach a child to stick handle with their head up?
Start with drills that make looking down impossible to pass. Put a target on the wall at eye level and have the player call out numbers or colors you hold up while stick handling. Begin with wide, slow puck movement so they can feel the puck without watching it, then tighten the drill as control improves. Reinforce hockey stick handling with head up in every session, even if it means slowing the drill down at first.
What are the best off-ice stick handling drills for kids with limited space?
A street hockey ball, a smooth surface, and a handful of cones cover most of it. Set up a 6-foot (roughly 2-meter) lane and work wide-to-tight figure-eights, side-to-side touches, and reverse stick handling. Add a stick weight for 5-10 minutes to build control strength, then remove it and finish with fast, light touches. A driveway, basement, or garage works fine as long as the player has room to keep hands away from the body and stay low.
Will a stick weight actually improve puck control, or just shot power?
Both, when used correctly. The Lamplighter Hockey Stick Weight adds resistance to stick handling and shooting drills, which builds the control strength and soft hands that show up when the weight comes out. Sizing matters: the 1/2-pound weight suits 8U and Mites, the 1-pound fits all ages, and the 2-pound is for stronger players ages 13 and up. Use it for 5-10 minutes per session, then train without it so the lighter stick feels fast.